
Ghost Driver How to Put Decals: A Step-by-Step Guide to Customizing Your Ride
Learn how to put decals in Ghost Driver on Roblox. Follow our simple, step-by-step guide to creating and applying custom graphics to your dream car.
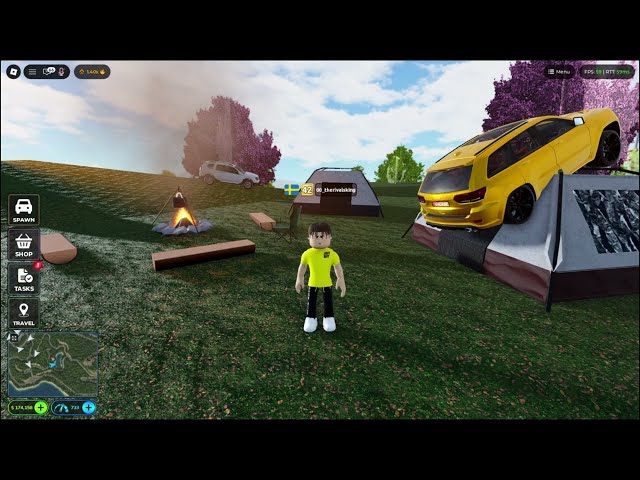 Community gameplayLearn how to put decals in Ghost Driver on Roblox. Follow our simple, step-by-step guide to creating and applying custom graphics to your dream car.YouTube
 Taking Your Ride to the Next Level
If you are looking to stand out on the streets of the latest viral Roblox car experience, you have likely asked yourself, "Ghost Driver how to put decals?" Personalizing your vehicle is the ultimate way to express your style, and learning how to put decals in Ghost Driver is a game-changer for any serious car enthusiast. Whether you want to showcase your brand, show off your favorite character, or simply add a unique flair to your windows, this guide will walk you through the entire process from start to finish.
Why Custom Decals Matter in Ghost Driver
In a game as visually stunning and realistic as Ghost Driver, blending in with the crowd just won't cut it. Customization is the heartbeat of the game’s community. By applying unique graphics, you transform a standard vehicle into a personalized masterpiece that reflects your personality. When you master the technical side of uploading assets, you gain the freedom to turn any image into a high-quality window graphic, elevating your status in the server and making your car truly one-of-a-kind.
Preparation: Getting Your Graphics Ready
Before you can show off your style, you need the right tools. Many players use AI tools like ChatGPT to generate custom images for their cars. When doing this, it is essential to request a transparent background to ensure the decal looks professional when placed on your car windows.
| Tool | Purpose | Benefit |
|---|---|---|
| ChatGPT / AI Image Gens | Creating custom designs | High creativity and unique assets |
| Roblox Create Portal | Asset management | Essential for generating IDs |
| Image Editing Software | Sizing and formatting | Ensures proper fit on windows |
Pro-Tips for Better Decals
Community reports suggest that size matters. If your image is too large, it might appear off-center or clipped. Always ask your AI generator to "size down" the design or use a photo editor to scale your image before uploading it to the Roblox platform.
A Step-by-Step Guide to Uploading Your Decals
Once you have your image file saved, the process of bringing it into the game is straightforward. Follow these steps to ensure your asset is ready for use:
- Access the Creator Dashboard: Log into your Roblox account and navigate to the "Create" tab.
- Locate Development Items: Inside the creations dashboard, look for the "Development Items" section.
- Upload the Asset: Select "Decals" and upload your prepared image file.
- Copy the Asset ID: Once the upload is complete, click the three dots on the asset menu to copy the unique ID number.
Uploading Checklist
- Ensure the file format is compatible (PNG, JPG, TGA).
- Double-check that the file size is within Roblox’s limits.
- Keep a spreadsheet of your IDs so you don't lose them!
Applying Decals to Your Vehicle
Now that you have your Asset ID, it is time to head back into the game. This is where your hard work pays off.
- Enter the Game: Spawn the car you want to customize.
- Open the Modification Tab: Navigate to the vehicle menu, usually found in the garage or quick-access UI.
- Find Cosmetic Settings: Look for the "Cosmetics" or "Window Decals" section.
- Paste the ID: Enter your copied Asset ID into the text field.
If the image looks off-center, don't worry. This is a common issue in many Roblox car games. Simply adjust your original image file in an editor to shift the design slightly, re-upload it to get a new ID, and try again until the placement is perfect.
Customization Best Practices
To make the most of the game's features, follow these best practices for a cleaner, more professional look.
| Feature | Recommended Action | Why? |
|---|---|---|
| Transparency | Always use PNGs with alpha channels | Prevents blocky white boxes around your logo |
| Alignment | Use center-weighted designs | Makes placement significantly easier |
| Resolution | Aim for 512x512 pixels | Balances quality with loading speeds |
Community Insights on Performance
According to various player experience threads, using excessively high-resolution images can sometimes cause "texture popping" or slow load times in busy servers. Stick to optimized file sizes to ensure your car looks crisp without affecting your frame rate during high-speed highway cruises.
Troubleshooting Common Issues
Even the best tuners run into problems. Here is how to handle the most common issues players face when trying to figure out "Ghost Driver how to put decals."
- Decal Not Showing: Double-check your ID. A single mistyped number will result in an empty box.
- Image Looks Stretched: Your aspect ratio is likely off. Try resizing your image to a square format (1:1 ratio) before uploading.
- Asset Moderation: Remember that all images must follow Roblox Community Standards. Avoid copyrighted logos or inappropriate content to prevent your account from being flagged.
Frequently Asked Questions
Q: Ghost Driver how to put decals on different windows? A: Most vehicles in the game have specific slots for window decals in the "Cosmetics" tab. Check if your specific car model supports multiple decal slots.
Q: Do I have to pay to upload decals? A: Depending on current platform updates, there may be a small fee in Robux to upload an asset to your inventory. Always check the cost on the "Create" page before finalizing your upload.
Q: Can I use other people's decals? A: Yes! Many players share their favorite Asset IDs on TikTok and YouTube. If you see a decal you like, you can often find the ID in the video description or comments section to use on your own car.
Q: Why does my decal look blurry? A: This usually happens if the source image is low resolution. Always try to upload the highest quality version of your image that stays within the file size limit to keep your car looking sharp.
Related Guides
Best Ghost Driver Radio IDs: Customize Your Roblox Ride with the Ultimate Music Codes
Cruising in Roblox Ghost Driver? Check out our ultimate list of Ghost Driver radio IDs, working codes, and expert customization tips to level up fast.
How to Create and Apply a Custom Decal for Your Ghost Driver Car: Step-by-Step Guide
Learn how to easily create and apply a custom decal in Ghost Driver for Roblox. Follow our guide to personalize your vehicle with unique designs today.
How to Create and Apply Custom Ghost Driver Decals: The Ultimate Roblox Customization Guide
Learn how to create, upload, and apply custom ghost driver decals to your favorite vehicles in Roblox. Follow our step-by-step guide to styling your ride.
How to Use Ghost Driver Window Decal Codes to Fully Customize Your Roblox Ride
Master vehicle customization with our guide to Ghost Driver window decal codes. Learn how to create, upload, and apply custom stickers to your car today.